Midjourney API: Availability, Pricing, Alternatives

Midjourney has become a household name for many developers and businesses, but what about its API pricing? While Midjourney doesn't have an official API yet, there are several alternatives and even DIY solutions to consider. This article aims to be your ultimate guide, covering everything from pricing plans to how to build your own Midjourney API.
Whether you're a developer looking to integrate Midjourney into your project or a business owner considering Midjourney as a solution, this guide will provide you with all the information you need. Let's dive in!
Does Midjourney Have an Offical API?
Short Answer: Not Yet!
Midjourney has yet to release an official API, which has led to a bit of a Wild West scenario. Users and developers are left to their own devices to find or create solutions that can integrate with Midjourney's platform. This lack of an official API has created a market for alternative solutions, both free and paid.

Key Points:
- No Official API: Midjourney has not released an official API.
- User-Driven Solutions: The gap has been filled by community-driven or third-party solutions.
- TOS Violation: Ignoring the TOS while using an unofficial API could lead to account suspension. Therefore, it's vital to understand the legal landscape before proceeding.
Note: Always refer to Midjourney's official documentation (opens in a new tab) for the most current pricing information.
Midjourney Pricing: How Much Does Midjourney Cost?
While the absence of an official API is a significant point of discussion, it's equally important to understand Midjourney's official pricing plans. These plans often serve as a baseline for what you might expect to pay for third-party or DIY API solutions.
- Basic Plan: Generally aimed at individual users, offering limited features.
- Premium Plan: Targeted at businesses and power users, offering a wide range of features.
- Enterprise Plan: Custom solutions for large-scale operations.
Is Midjourney Subscription Worthy?
-
While the free tier offers a good starting point, the Developer Plan provides the best value for most users. For $20/month, you get access to advanced analytics and a generous request limit, making it ideal for medium-sized projects.
-
That is why is many use cases, it is more plausible to utlize a Midjourney API.
Note: Always refer to Midjourney's official documentation (opens in a new tab) for the most current pricing information.
Best Midjourney APIs - Free & Paid
The absence of an official Midjourney API has led to the rise of several alternative solutions. Each comes with its own set of features, pricing models, and user reviews. Let's take an in-depth look at some of the most popular ones.
ImagineAPI Midjourney API
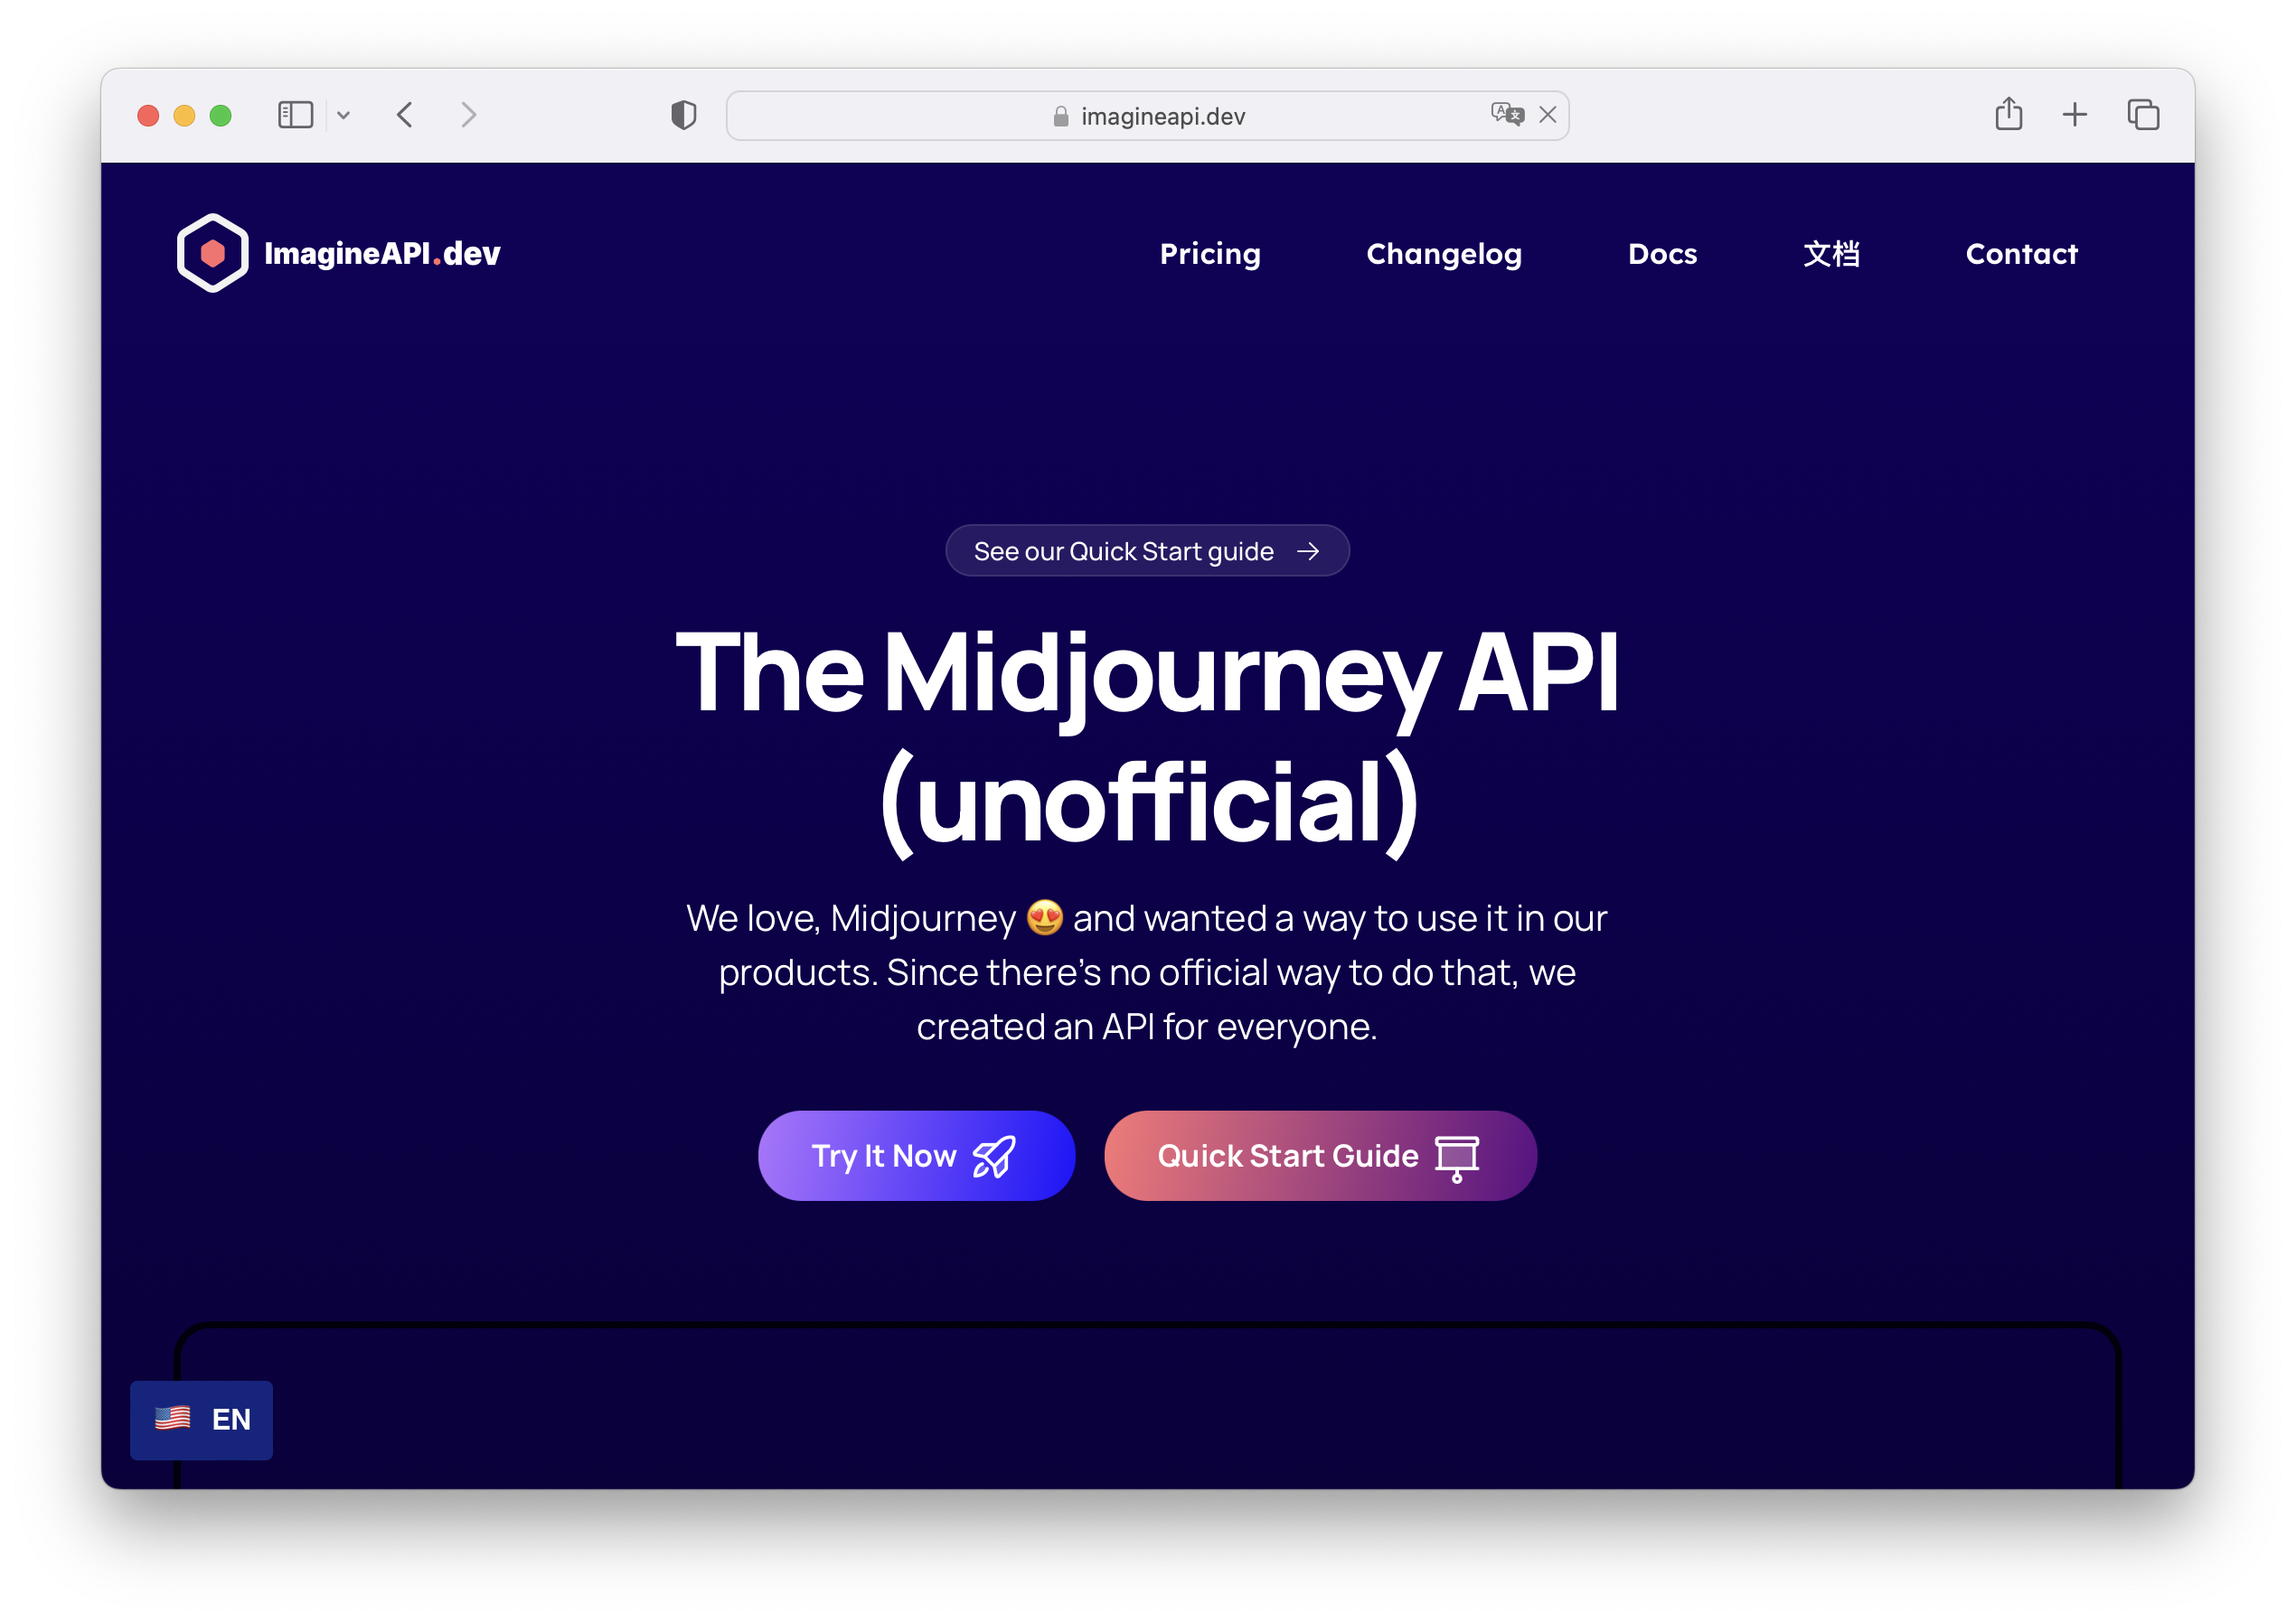
ImagineAPI (opens in a new tab) offers an Admin Panel that allows you to generate new images and monitor system status. It's built on an extendable open-source foundation, providing a robust developer experience.
Pricing and Features
ImagineAPI costs around $40 per month and offers features like instant upscale and built-in queue management.
Pros and Cons
Pros: User-friendly, instant upscale, and queue management. Cons: No official support, potential TOS issues.
Reviews and Ratings Rating: 4.5/5
Reviews: Users appreciate the instant upscale feature but are concerned about the lack of official support.
Rapid API Midjourney API
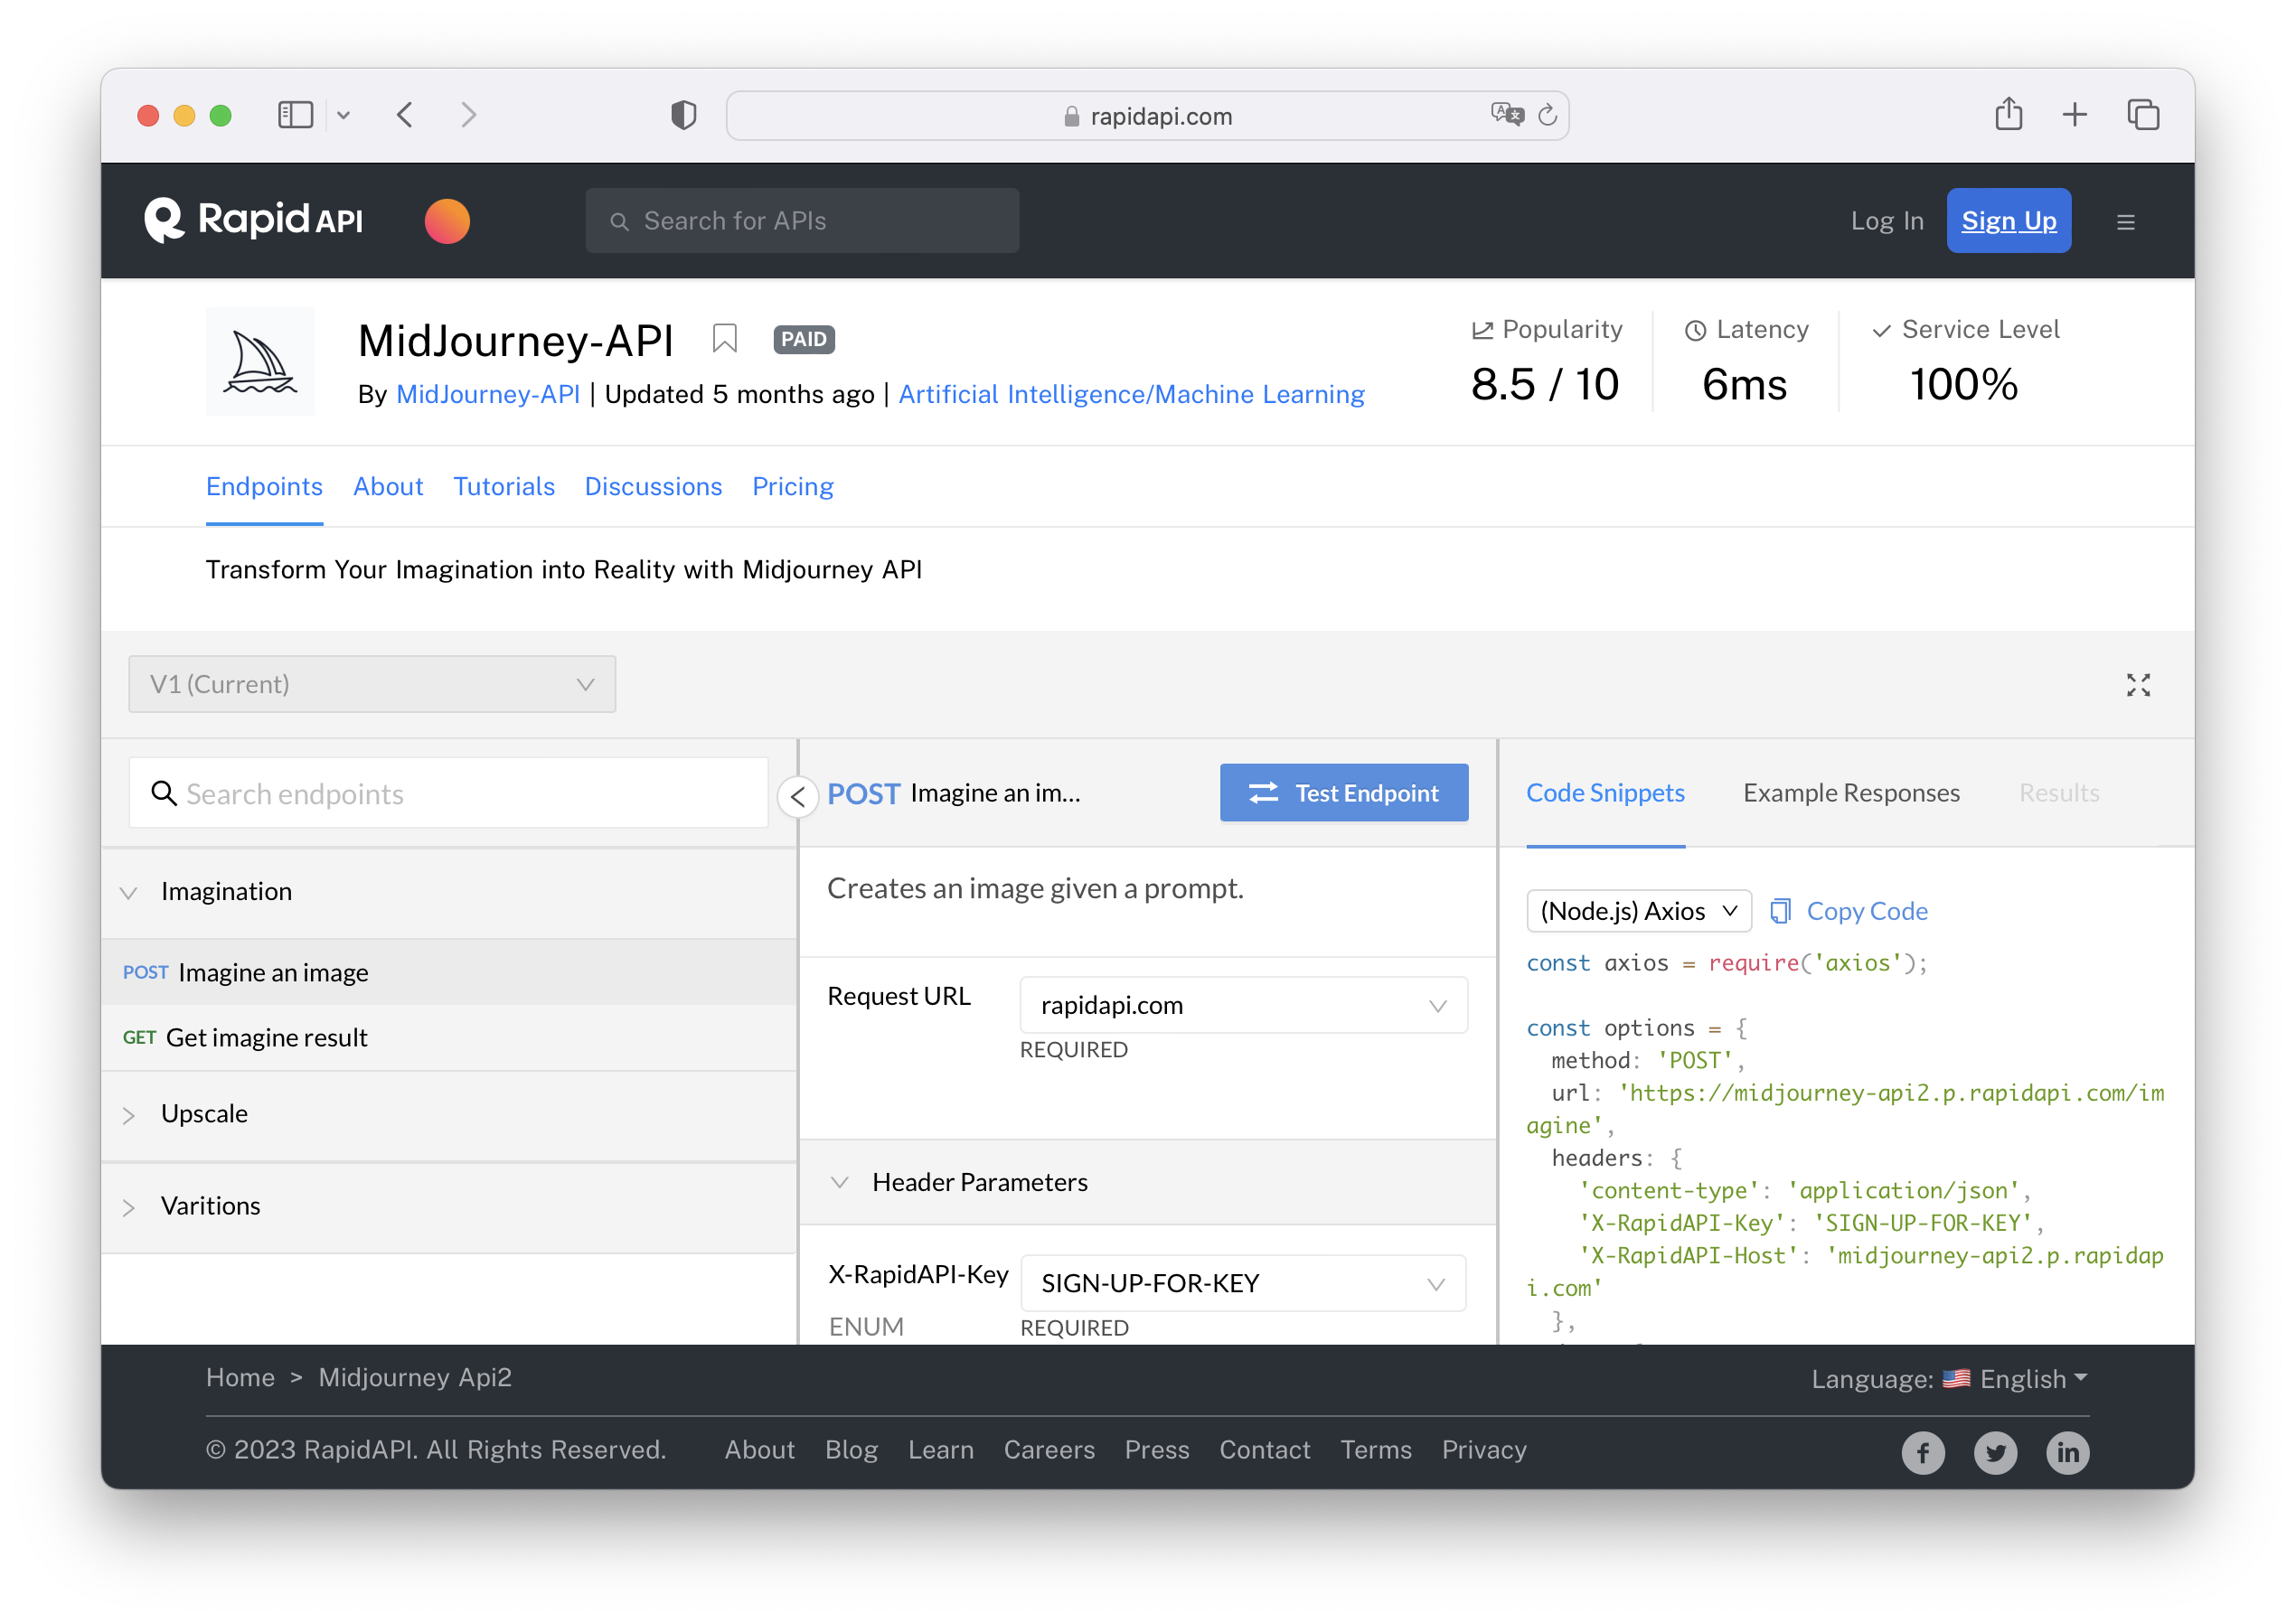
Overview and Unique Features
Rapid API offers an easy-to-use Midjourney API solution (opens in a new tab) with unique features like multi-account setup and image queueing.
Cost Considerations The pricing starts at $40 per month, similar to ImagineAPI, but offers more features.
Pros and Cons Pros: Multi-account setup, image queueing. Cons: Higher cost, complexity.
Reviews and Ratings Rating: 4.2/5 Reviews: Users find the multi-account setup useful but feel the platform is a bit complex.
Eden AI Midjourney API
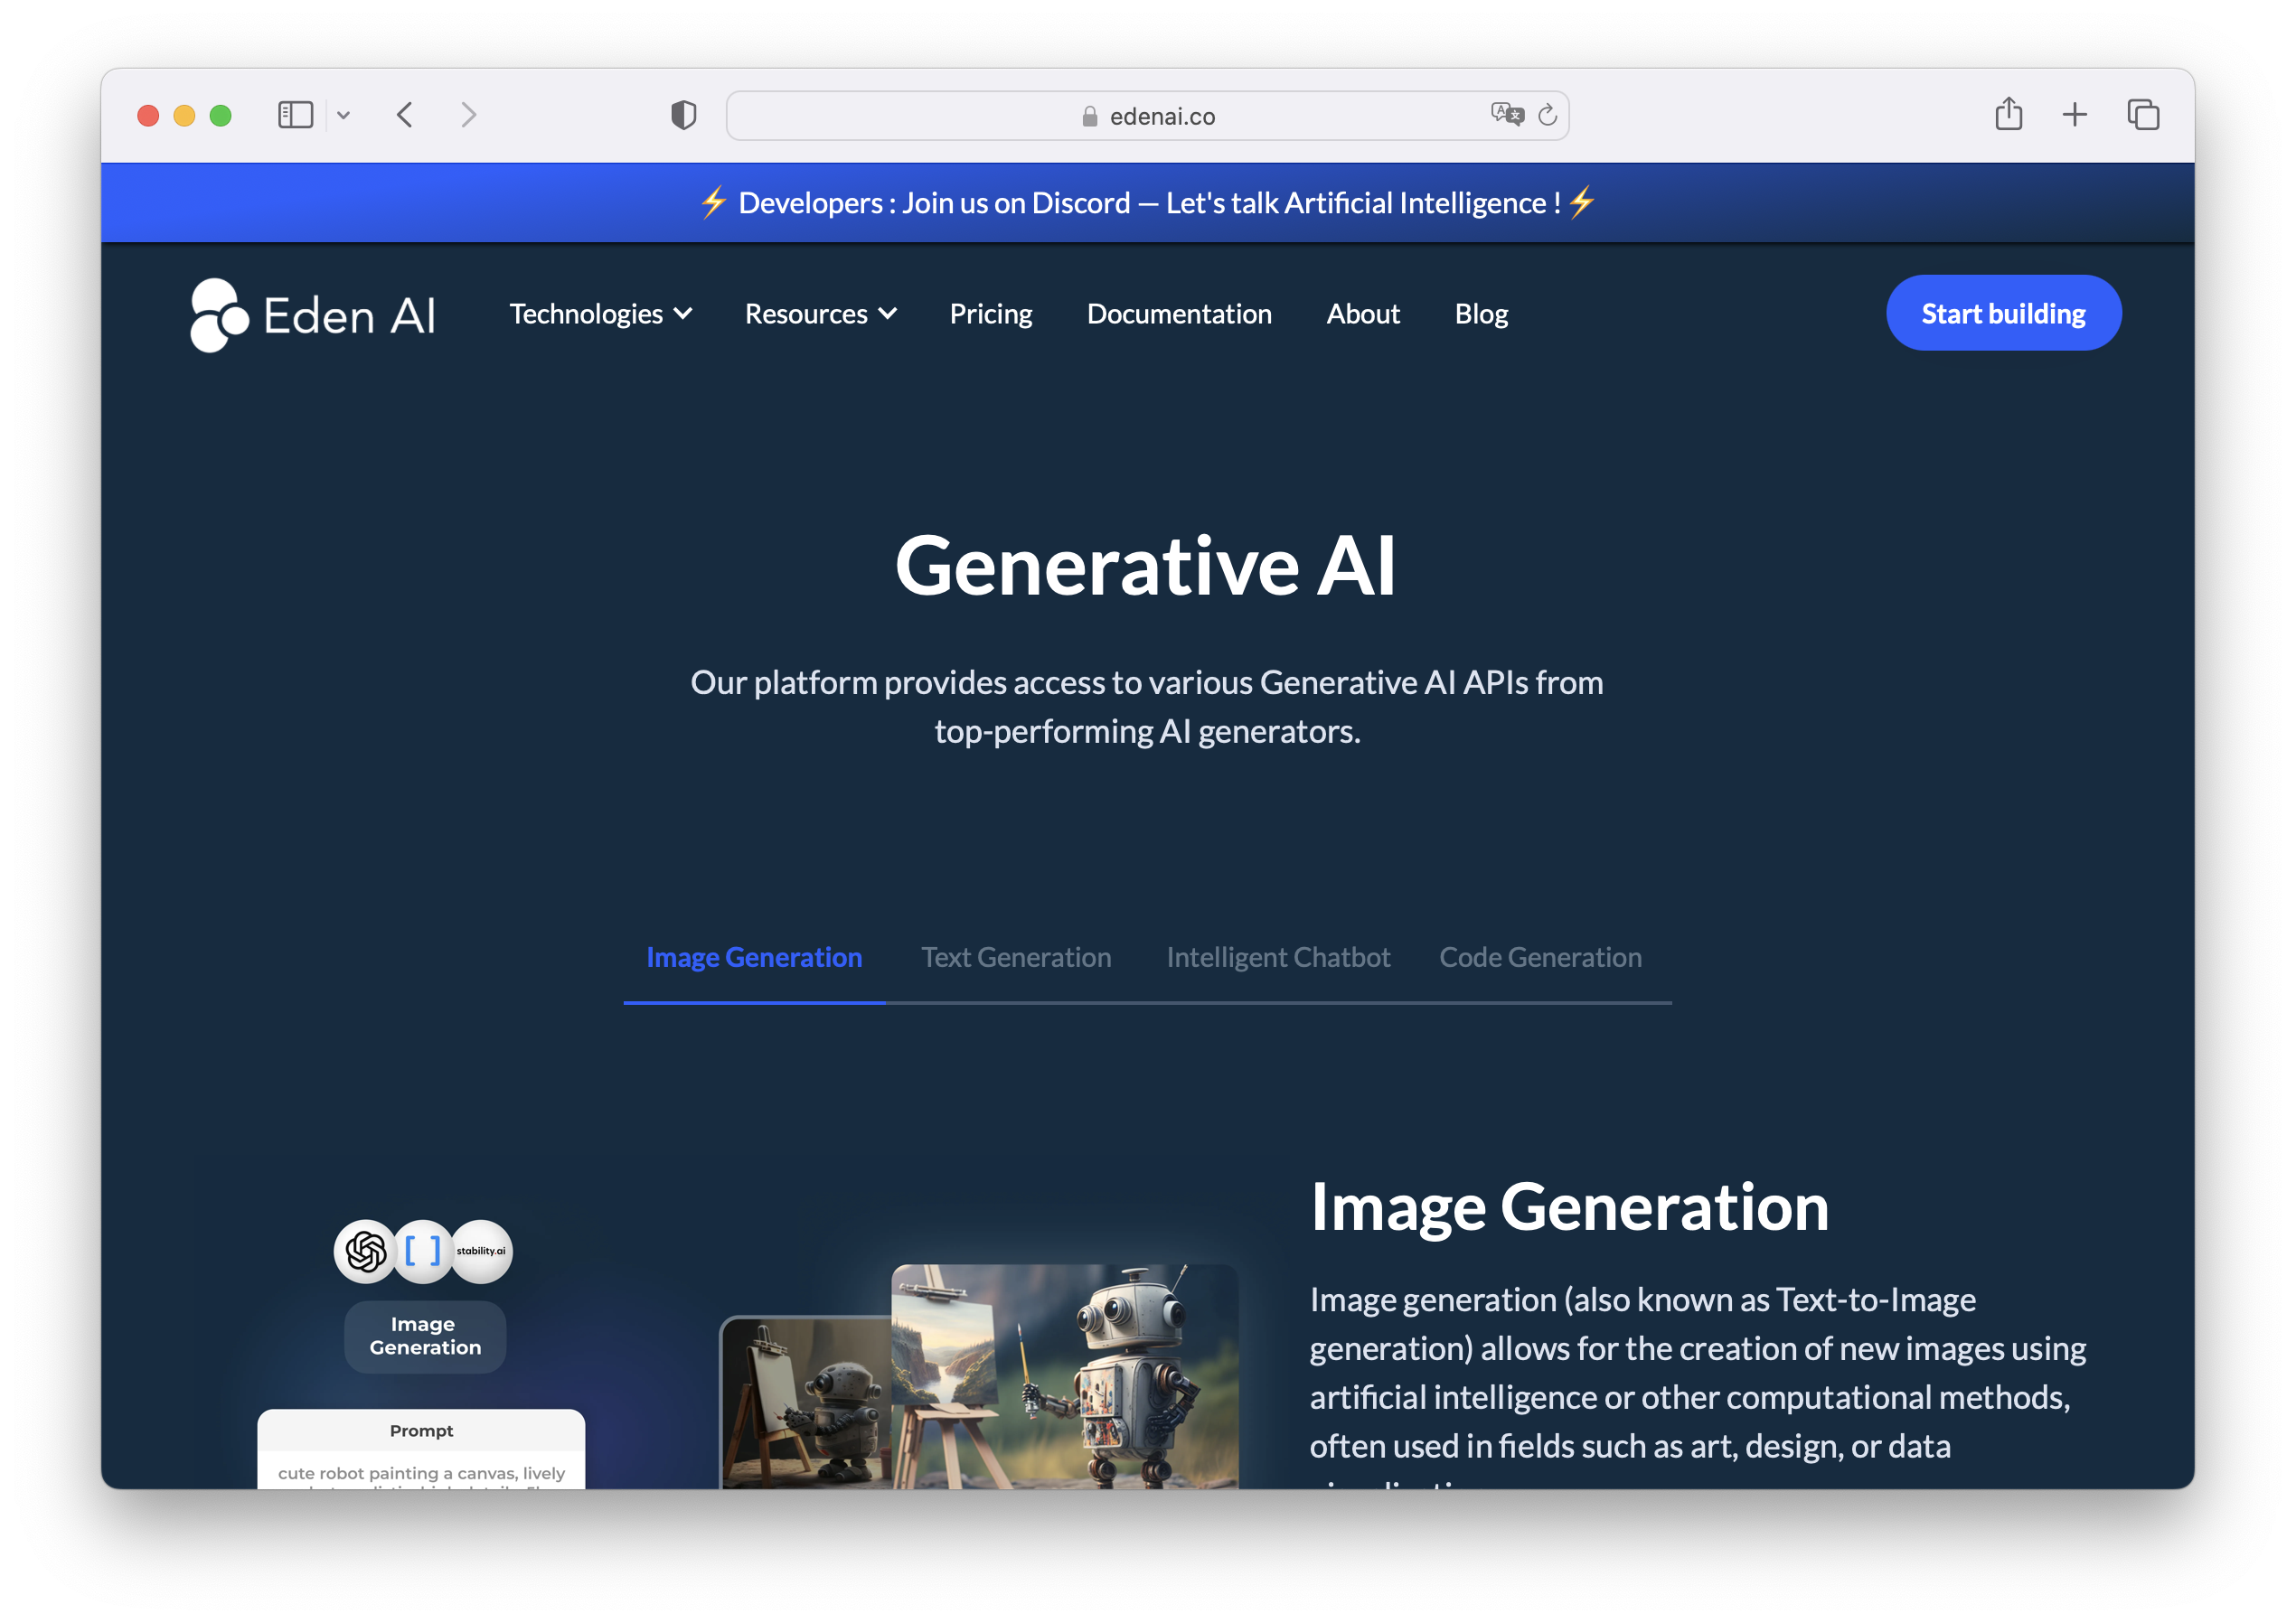
How it Can Serve as a Midjourney Alternative: Eden AI offers a different approach by focusing on generative AI images (opens in a new tab), which can be an alternative to Midjourney's offerings.
Pricing Details The pricing is competitive, starting at $30 per month.
Pros and Cons Pros: Lower cost, focus on generative AI. Cons: Limited to image generation, no text-to-image conversion.
Reviews and Ratings Rating: 3.8/5 Reviews: Users like the focus on generative AI but miss the text-to-image conversion feature.
The Next Leg Midjourney API

What it Offers and How it Differs: The Next Leg (opens in a new tab) offers full access to all of Midjourney's features and services, including image proxy service and webhook support.
Cost and Ease of Use Priced at $40 per month, it offers a simple setup and complete Midjourney account control.
Pros and Cons Pros: Full feature access, simple setup. Cons: Unofficial, potential TOS issues.
Reviews and Ratings Rating: 4.7/5 Reviews: Users love the full feature access but are cautious about the unofficial nature of the service.
Building Your Own Midjourney API: A Detailed Step-by-Step Tutorial
Creating your own Midjourney API can be a rewarding experience, giving you full control over the features and functionalities you want to implement. This tutorial will guide you through the process using Python and the Discord API. By the end, you'll have a basic Midjourney API that can interact with Discord.
Prerequisites for Building Your Own Midjourney API
- Basic knowledge of Python
- Discord account
- Text editor (e.g., Visual Studio Code)
Step 1: Setting Up Your Development Environment
First, you'll need to install Python and pip if you haven't already. You can download them from the official Python website (opens in a new tab).
Open your terminal and run the following command to install the Discord API wrapper for Python:
pip install discord.pyStep 2: Create a Discord Bot
- Go to the Discord Developer Portal (opens in a new tab) and click "New Application."
- Name your application and click "Create."
- Navigate to the "Bot" tab and click "Add Bot."
- Under the "TOKEN" section, click "Copy" to copy your bot token. You'll need this later.
Step 3: Initialize Your Python Script
Create a new Python file and import the Discord library:
import discordStep 4: Set Up Discord Client
Initialize the Discord client and set up an event for when the bot is ready.
client = discord.Client()

@client.event
async def on_ready():
    print(f'Logged in as {client.user}')
Step 5: Implement Text-to-Image Functionality
For demonstration purposes, let's create a simple function that turns text into an image. We'll use the PIL library for this.
pip install PillowThen, add the following code to your Python script:
from PIL import Image, ImageDraw, ImageFont

def text_to_image(text):
    image = Image.new('RGB', (200, 60), color = (73, 109, 137))
    d = ImageDraw.Draw(image)
    fnt = ImageFont.load_default()
    d.text((10,10), text, font=fnt, fill=(255, 255, 0))
    image.save('text_image.png')
Step 6: Listen for Discord Messages
Add an event to listen for messages in Discord. When a message is received, the bot will generate an image from the text and send it back.
@client.event
async def on_message(message):
    if message.author == client.user:
        return

    if message.content.startswith('!generate'):
        text = message.content[10:]
        text_to_image(text)
        await message.channel.send(file=discord.File('text_image.png'))
Step 7: Run the Bot
Finally, run the bot using the token you copied earlier.
client.run('YOUR_BOT_TOKEN')You've successfully built a basic Midjourney API that can turn text into images on Discord. This is just the starting point; you can add more features like image filters, custom fonts, and much more.
Step 8: Deploying Your Bot
Once you've tested your bot locally and are satisfied with its functionality, the next step is to deploy it to a server so it can run 24/7.
Deploying on Heroku
- Create a
requirements.txtfile in your project directory and add the following:discord.py Pillow - Create a
Procfile(no file extension) and add:worker: python your_script_name.py - Install the Heroku CLI (opens in a new tab) and run
heroku loginto log in to your Heroku account. - Initialize a Git repository in your project directory and commit your files:
git init git add . git commit -m "Initial commit" - Create a new Heroku app:
heroku create your_app_name - Push your code to Heroku:
git push heroku master - Scale your worker:
heroku ps:scale worker=1
Once your bot is deployed, it's crucial to monitor its performance and address any issues that arise.
- Heroku Logs: Use
heroku logs --tailto view real-time logs. - Discord Developer Portal: Check the bot's activity and error rates.
Building Your Own API with Node.js: A Midjourney Alternative
If you're looking for a Midjourney alternative, building your own API using Node.js is a viable option. This tutorial will guide you through the process in a step-by-step manner.
Prerequisites to Build Your Own Midjourney API
- Node.js installed on your machine
- Basic understanding of JavaScript and RESTful APIs
Step 1: Initialize Your Project
- Open your terminal and create a new directory for your project.
mkdir my-node-api - Navigate into the directory.
cd my-node-api - Initialize a new Node.js project.
npm init -y
Step 2: Install Required Packages
Install the express package to create your API server.
npm install expressStep 3: Create Your Server File
Create a new file named server.js.
touch server.jsStep 4: Set Up Your API Server
Open server.js and add the following code:
const express = require('express');
const app = express();
const port = 3000;

app.get('/', (req, res) => {
  res.send('Hello, World!');
});

app.listen(port, () => {
  console.log(`Server running at http://localhost:${port}`);
});
Step 5: Test Your Server
Run your server using the following command:
node server.jsOpen your browser and navigate to http://localhost:3000. You should see "Hello, World!" displayed.
Step 6: Create API Endpoints
Modify your server.js to include a sample API endpoint.
app.get('/api/data', (req, res) => {
  res.json({ message: 'This is your data.' });
});
Step 7: Test API Endpoint
Use curl or Postman to test your new API endpoint.
curl http://localhost:3000/api/dataYou should receive a JSON response: {"message": "This is your data."}
Step 8: Add Rate Limiting
Install the express-rate-limit package.
npm install express-rate-limitAdd the rate-limiting middleware to your server.js.
const rateLimit = require('express-rate-limit');

const limiter = rateLimit({
  windowMs: 1 * 60 * 1000, // 1 minute
  max: 100 // limit each IP to 100 requests per windowMs
});

app.use('/api/', limiter);
Step 9: Test Rate Limiting
Run multiple curl commands to test the rate limiting.
curl http://localhost:3000/api/dataAfter 100 requests within a minute, you should receive a 429 status code.
You've successfully built a basic API server with Node.js as a Midjourney alternative. This DIY approach gives you full control over your API's behavior, rate limits, and data handling.
Conclusion: Navigating the Maze of DIY API and Midjourney API Solutions
In this comprehensive guide, we've explored two distinct paths for API implementation: using Midjourney's API and building your own with Node.js as a Midjourney alternative. Both approaches have their merits and drawbacks. While Midjourney offers a hassle-free, feature-rich solution, a DIY approach gives you complete control over your API's behavior and rate limits. Your choice should align with your specific needs, technical expertise, and budget constraints.
Frequently Asked Questions
Is there an API for Midjourney?
Yes, Midjourney offers a robust API that allows you to integrate its services into your applications. It's a convenient option for those who prefer a ready-to-use solution.
How to use Midjourney API for free?
Midjourney generally offers a free tier with limited features and rate limits. To use it, you'll need to sign up for an account, navigate to the API section, and generate an API key.
How to integrate Midjourney API?
Integration of the Midjourney API involves the following steps:
- Sign up for a Midjourney account.
- Generate an API key from the dashboard.
- Use the API key in your application's HTTP headers to make requests to Midjourney's API endpoints.
Can I use Midjourney for free?
Yes, Midjourney usually offers a free tier with limited features. It's a good starting point for small projects or for testing the service before committing to a paid plan.