How to Use Midjourney Img2Img Feature
Published on

Welcome to the fascinating universe of Midjourney img2img, a feature that has revolutionized the way we interact with AI and digital art. If you've ever wondered how to transform a simple image into a Van Gogh painting or blend multiple images into a unique masterpiece, you're in the right place.
This article aims to be your ultimate guide to understanding and mastering Midjourney img2img. From its basic concept to advanced techniques, we'll cover everything you need to know to get the most out of this incredible feature. So, let's dive in!
What is Midjourney img2img?
Midjourney img2img is a groundbreaking feature that allows you to use any image as a starting point and transform it into something entirely new. Unlike traditional image editing software that relies on filters and manual adjustments, Midjourney img2img uses AI algorithms to understand and interpret your prompts, offering a level of customization and creativity that's unparalleled.
The img2img feature has come a long way since its inception. Initially, it was a simple tool with limited capabilities. However, thanks to continuous improvements and user feedback, it has evolved into a versatile and user-friendly feature. Here are some key milestones in its development:
- Version 1: Basic image-to-image transformations with limited styles.
- Version 2: Introduction of image blending and style transfer.
- Version 3: Enhanced user interface and the ability to use custom images.
- Version 4: Advanced features like image weights and multiple image blending.
What Can Midjourney Img2Img Do for You?
The real magic of Midjourney img2img lies in its versatility and the creative freedom it offers. Here are some compelling reasons why you should be using it:
-
Digitizing Sketches: Turn your hand-drawn sketches into digital art. For example, you can use the prompt
/imagine <Your Sketch URL> digital artto transform your sketch into a digital masterpiece. -
Blending Images: Combine two or more images to create something unique. A sample prompt could be
/imagine <Image URL 1> <Image URL 2> blend. -
AI Selfies: Create AI-generated selfies with artistic styles. A simple prompt like
/imagine <Your Selfie URL> in the style of Picassocan give you an artful selfie. -
Style Transfer: Transfer the style of one image onto another. For instance,
/imagine <Your Image URL> in the style of <Art Style>can transform your image into a specific art style.
By now, you should have a good understanding of what Midjourney img2img is and why it's a feature you absolutely need to explore. In the next sections, we'll delve into the nitty-gritty details of how to get started, master image prompts, and much more. Stay tuned!
Getting Started with Midjourney Img2Img

So you're excited about diving into the world of Midjourney img2img, but where do you start? The first step is understanding the basics of how to use this feature effectively. Whether you're a complete beginner or someone looking to refine their skills, this section will guide you through the process.
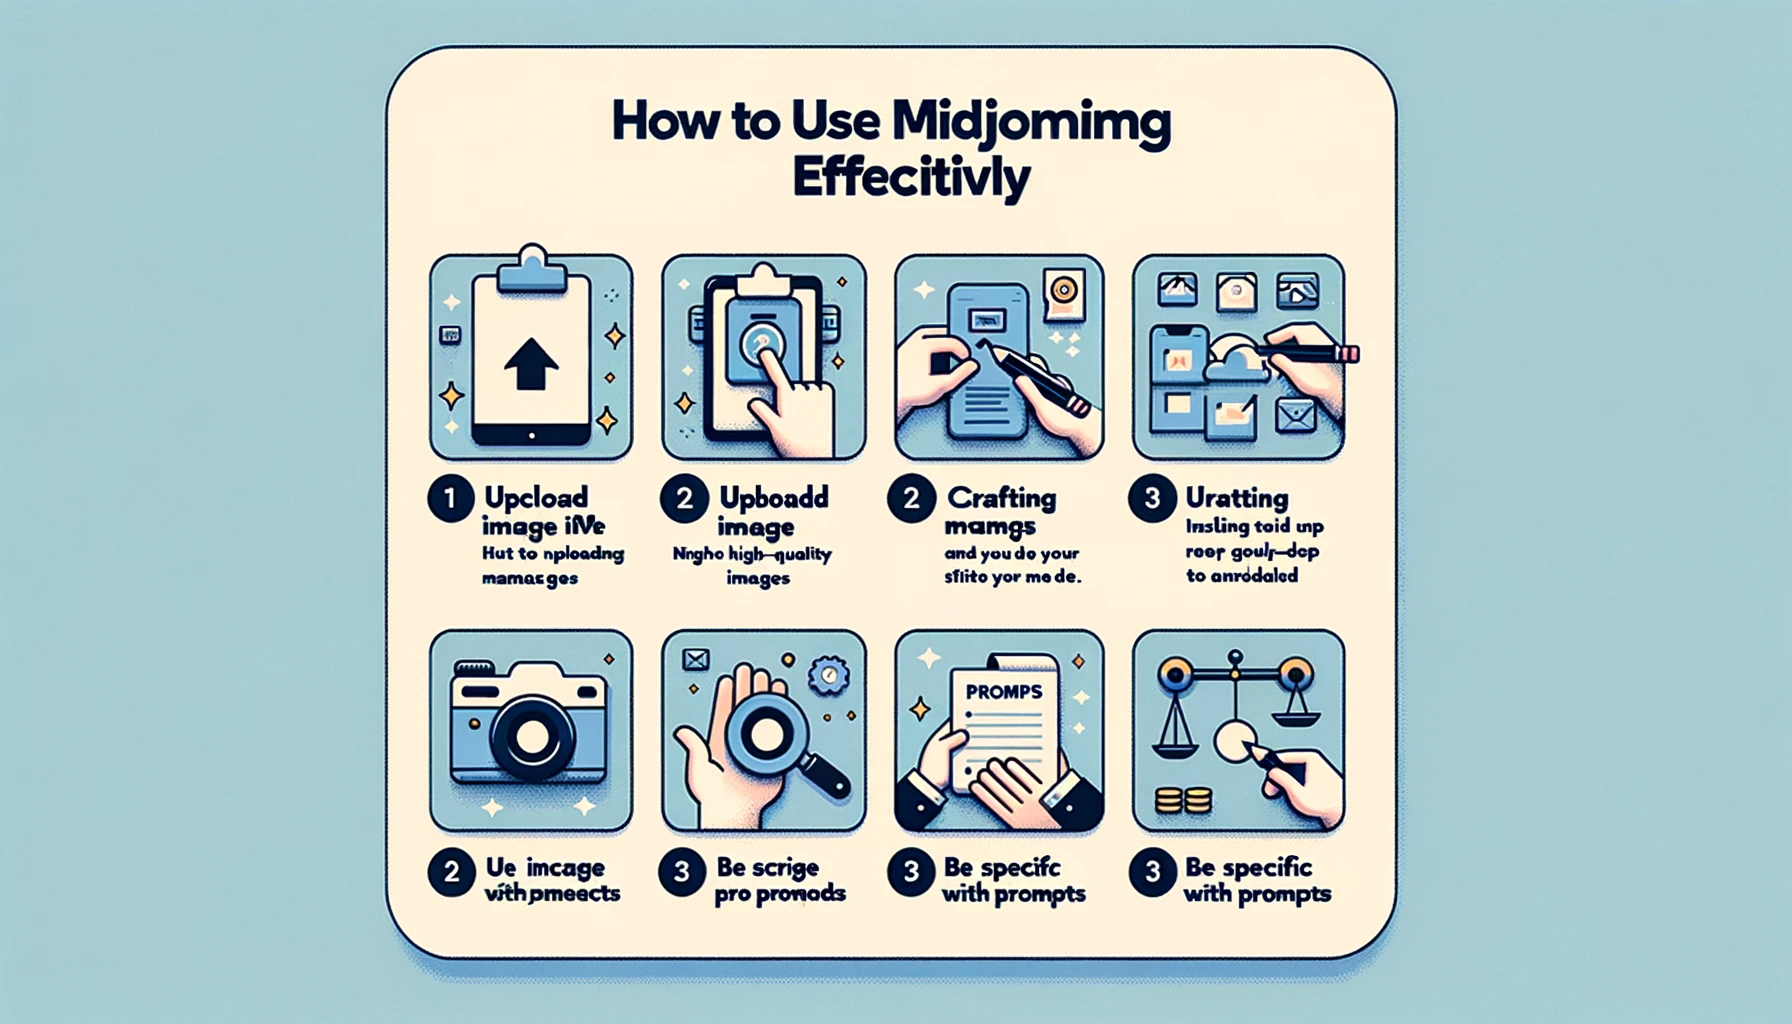
Step 1. Uploading Your Images for Use in Midjourney
Before you can start transforming images, you'll need to upload them. One popular way to do this is via Discord, where you can easily manage and share your images. Here's how:
- Join a Midjourney Discord Server: If you're not already a member, join a server that supports Midjourney img2img.
- Navigate to the Appropriate Channel: Usually, there's a designated channel for img2img.
- Upload Your Image: Simply drag and drop your image into the chat or use the upload button.
- Copy the Image URL: Right-click on the uploaded image and copy the URL for use in Midjourney.
Step 2. Crafting Effective img2img Prompts
Creating effective prompts is crucial for getting the results you desire. Here are some tips and sample prompts to get you started:
-
Be Specific: The more specific your prompt, the better the outcome. For example, instead of using a vague prompt like
/imagine <Image URL> better, try something like/imagine <Image URL> enhance clarity. -
Use Image Weights: This feature allows you to control how much influence the image has on the final output. For instance,
/imagine <Image URL> weight:0.7will make the image less dominant in the final result. -
Multiple Image Blending: You can blend multiple images by simply adding their URLs in the prompt. For example,
/imagine <Image URL 1> <Image URL 2> blendwill blend the two images together.
By following these steps and tips, you'll be well on your way to mastering Midjourney img2img. But the journey doesn't end here. In the next section, we'll delve deeper into advanced techniques that will take your creativity to the next level.
Examples (Sample Prompts):
-
Transform a Cityscape into a Futuristic Metropolis:
Prompt:/imagine <Cityscape Image URL> futuristic metropolisThis prompt will take an image of a cityscape and transform it into a vision of what it might look like in the future, complete with advanced architecture and neon lights.
-
Turn a Portrait into a Renaissance Painting:
Prompt:/imagine <Portrait Image URL> in the style of Renaissance art weight:0.8This prompt will take a portrait photo and transform it into a Renaissance-style painting. The weight parameter ensures that the original portrait retains 80% of its influence in the final image.
-
Blend a Forest and a Galaxy for a Mystical Landscape:
Prompt:/imagine <Forest Image URL> weight:0.6 <Galaxy Image URL> weight:0.4 blendThis prompt blends an image of a forest with an image of a galaxy, creating a mystical landscape where the natural world meets the cosmos. The weight parameters control how much each image contributes to the final blend.
Feel free to experiment with these prompts and adjust the parameters to suit your creative vision!
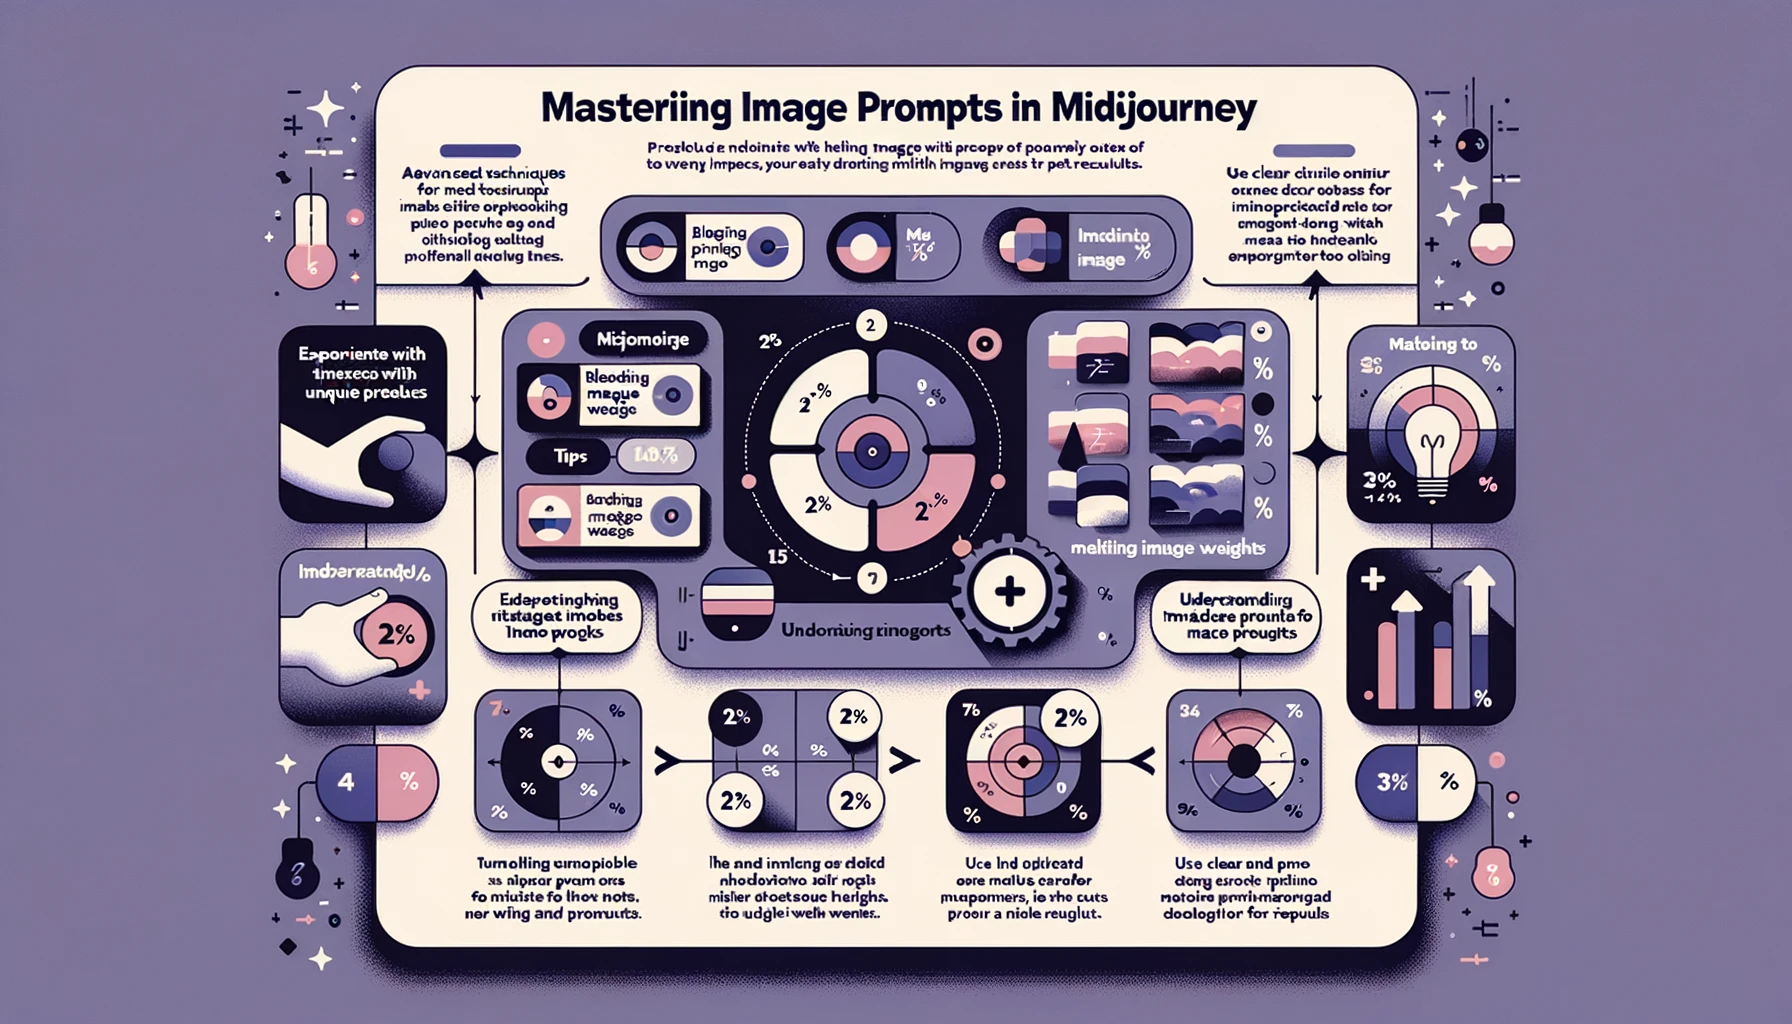
Understanding Image Weights in Midjourney
One of the most powerful features in Midjourney img2img is the ability to use image weights. This parameter allows you to control how much the image influences the final output. The weight can range from 0 to 1, with 0 meaning the image has no influence and 1 meaning it has full influence.
For example, if you want to blend an image of a sunset with a portrait but want the portrait to be more dominant, you could use a prompt like /imagine <Portrait URL> <Sunset URL> weight:0.8. This means the portrait will have 80% influence in the final image.

Step 3. Blending Multiple Images in Midjourney
Blending multiple images can result in some truly unique creations. However, it's not as simple as throwing in a bunch of images and hoping for the best. Here are some tips for successful blending:
-
Choose Compatible Images: Images with similar color schemes and themes tend to blend better.
-
Control the Blend Ratio: Use the weight parameter to control how much each image contributes to the final blend. For example,
/imagine <Image URL 1> weight:0.6 <Image URL 2> weight:0.4 blend. -
Experiment: Don't be afraid to try different combinations and weight ratios. The more you experiment, the better you'll get at predicting the outcomes.
By mastering these advanced techniques, you'll be able to create images that are not just visually stunning but also deeply personal and meaningful. And remember, the only limit is your imagination!
Frequently Asked Questions About Midjourney img2img
As you embark on your creative journey with Midjourney img2img, you're likely to have a few questions. This section aims to address some of the most common queries that users have, providing you with the answers you need to make the most of this incredible feature.
How to Incorporate an Image Link in Midjourney?
Incorporating an image link in Midjourney is straightforward. Once you have the URL of the image you want to use, you can include it in your prompt. For example, if you have an image of a landscape and you want to transform it into a winter scene, your prompt could be something like /imagine <Landscape Image URL> winter scene.
Is It Possible to Use Your Own Images?
Absolutely, you can use your own images in Midjourney img2img. As discussed earlier, one of the easiest ways to do this is by uploading your image to a Discord server that supports Midjourney. Once uploaded, you can use the image URL in your prompt.
What's the Limit on the Number of Images You Can Blend?
While there's no hard and fast rule, it's generally advisable to limit the number of images you're blending to two or three. This ensures that each image contributes meaningfully to the final output. However, you can experiment with more images; just be mindful of the blend ratios and how each image will influence the final result.
Conclusion
By now, you should have a comprehensive understanding of Midjourney img2img, from its basic functionalities to advanced techniques. Whether you're looking to digitize sketches, blend multiple images, or create AI-generated selfies, the possibilities are endless. The key to mastering this tool lies in understanding the nuances of crafting effective prompts and experimenting with different techniques.
So go ahead, unleash your creativity and explore the limitless possibilities that Midjourney img2img has to offer. Remember, the only limit is your imagination!
